Ideally, the home bathroom represents a great oasis of calm that invites you to linger and relax. Therefore, the annoyance is naturally great when the harmony in the bathroom is marred by an unsightly sight, such as a scratch or a crack in the sink.
However, it is not mandatory to completely replace the sink immediately in case of damage. Because a repair of the washbasin is to be mastered with cracks or scratches in principle without large expenditure also in self-direction. The following article explains what needs to be considered and how to proceed step by step.
The various repair options
.
Damage to the sink can vary exceedingly. In some cases, it is just a few superficial scratches that can be easily removed with a thorough cleaning and subsequent polishing.
If the scratches are deeper and affect the top layer of the sink, a touch-up pen is required. However, it is not always easy to match the exact shade. The method works especially well when repairing an enamel washbasin. During application, care must be taken to ensure that the substrate is really clean and that the paint is given sufficient time to cure completely. Thus, it is necessary to refrain from using the sink for about 24 hours. A uniform appearance is then created by polishing. The polish must always be selected to match the washbasin material.
material of the washbasin. The polishing compound is to be applied with little pressure and extremely sparingly in circular movements.
If the sink has a large crack or a deep hole, the repair of the sink can be more complicated. In this case, special repair sets are used, which can also repair deep cracks and fissures.
When the replacement of the sink is necessary
.
Sink replacement often goes hand in hand with a complete bathroom renovation. After all, the old sink in some cases can not be repaired even by a professional.
If there is a deep crack running through the entire sink, chances are slim that it can be completely sealed by treating the surface. If the cost of repairing the sink is almost as high as that of a new purchase, this is of course the better alternative anyway.
Damaged sinks - Does the insurance pay?
Tenants who have private liability insurance can usually fall back on it in case of damaged inventory in their apartment. However, by the insurance in most cases only the current value of the object is replaced. Even the replacement must be paid by the policyholder, so that the insurance claim for a damaged sink is often hardly worthwhile.
worthwhile.
Homeowners must generally bear the damage themselves, as neither the household contents insurance nor the residential buildings insurance is responsible in this case.
Sink Repair - How It Works
.
Special putty is available in stores for repairing cracked or damaged ceramic sinks. This is also part of practical repair kits, which also include a hardener. The hardener must be mixed with the putty and applied to the area of the sink that needs to be repaired.
However, after the repair, the applied compound is, of course, clearly visible on the surface. Therefore, it must be followed by sanding and painting with special varnish.
As a rule, the steps of repairing the sink are as follows:
Prepare the surface
.
Mix putty and sand the surface
.
Apply filler and sand repair
.
Paint color for a uniform appearance.
apply
In general, repairing a damaged or cracked sink is not particularly difficult. However, it is always important to follow the respective manufacturer's instructions for the repair kit. As a time frame for the sink repair should be scheduled between two and four hours.
What is needed is a ceramic repair kit, a sponge, a degreasing cleaning agent or, if no kit is used, a foam paint roller, lacquer paint, protective film and adhesive tape, rags, putty, fine sandpaper and putty knife. In addition, do not do without safety goggles, respirator, protective gloves and appropriate work clothes for sanding.
The step-by-step instructions
.
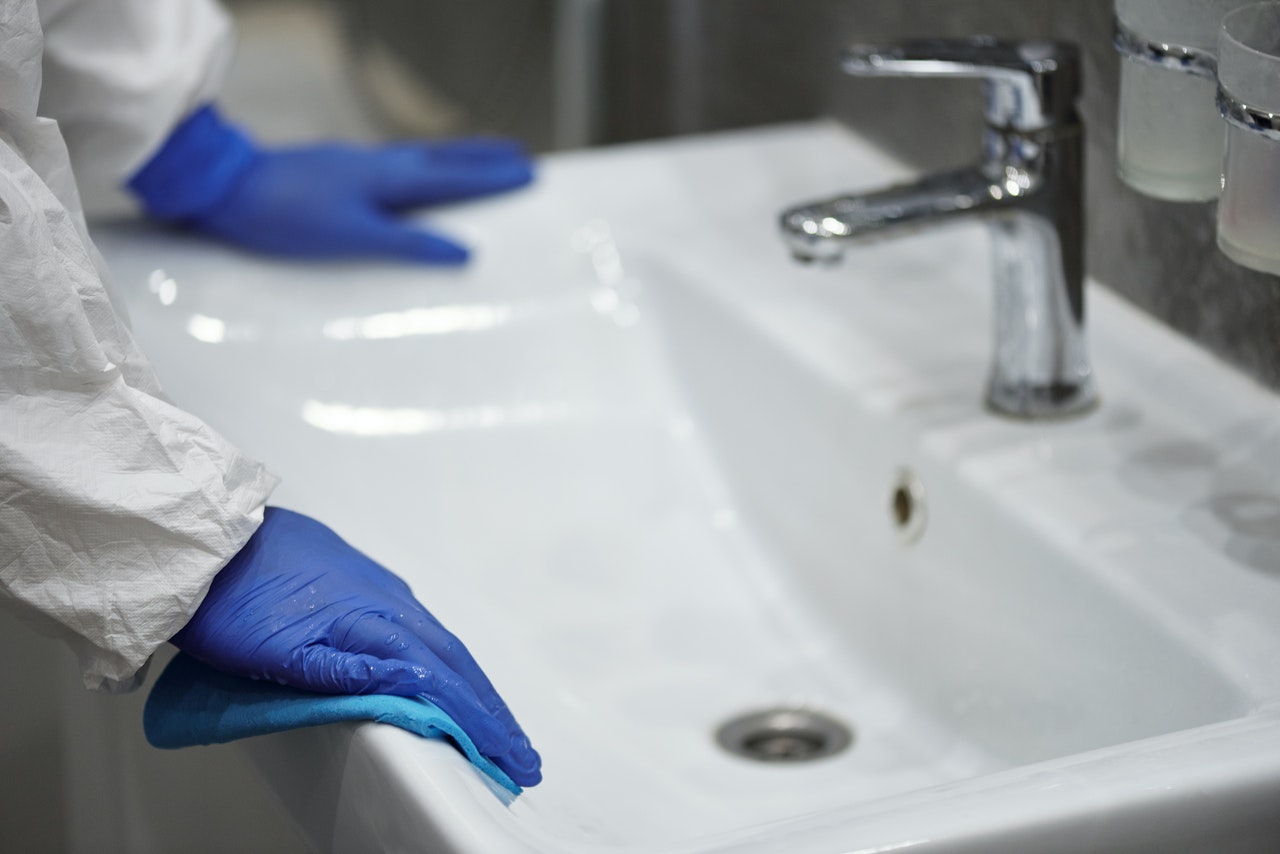
In the first step, it is necessary to completely clean the ceramic surface of the sink. To do this, the surface must be cleaned with a suitable detergent and a sponge until it is completely free of grease and clean. Ideally, this procedure should be repeated several times, as the success of the repair depends to a large extent on this important preparation.
This is followed by the sanding of the sink. Around the crack or crack, the sink surface is thus treated with sandpaper. The area to be repaired must be given extra thorough attention. To remove any dust particles from the surface is then followed by cleaning the surface again.
To prepare the putty, the two components must be mixed as specified by the respective manufacturer's instructions. The two components are then mixed with a spatula. As a rule, the compound must be applied immediately after mixing, as curing starts very quickly. However, the relevant manufacturer's instructions must always be observed here as well.
The putty knife is then used to apply the compound to the crack and any other minor scratches that need to be repaired. The compound is then allowed to dry according to the manufacturer's instructions. Once the compound has hardened completely, the affected areas are sanded smooth with sandpaper.
As a rule, the filler differs slightly from the color shade of the sink surface. Therefore, it may be necessary to paint the sink with a special color varnish in the final step. Some paints are also available in the form of convenient sprays, which only need to be sprayed on the repair area. After the paint has dried completely, the sink can be used again as usual.
Fig: Matilda Wormwood/pixabay.com
This website uses cookies. The cookie technolgy provides a good user expierence. We recommande you to accept this technolgy.
Information about Cookies

 Content: