Attach countertop sink: this is how the installation works
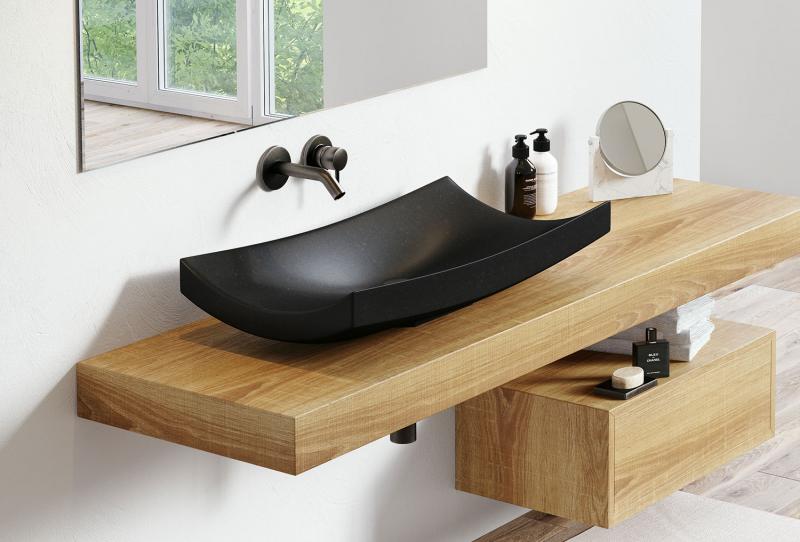
Nowadays, countertop sinks are increasingly common in luxurious design bathrooms. This is hardly surprising, as their individual look contributes greatly to an elegant and inviting ambience in the bathroom. As a rule, the washbasins are placed on a plate made of wood. In the run-up to the installation, a substructure, which has the necessary stability, can thus not be dispensed with.
In most cases, custom-made sinks already have passages for the faucets and water inlets. However, if these are not yet present, the installation also requires appropriate tools for this, with which the passages can be individually sawed. Oiled solid wood, by the way, is particularly well suited to serve as a plate for the washbasin.
Those who want to assemble their countertop sink on their own, the following article provides practical instructions on how to do it.
assembly of countertop washbasin - step by step instructions
.
Drilling the holes
.
In the first step, it is necessary to determine on the vanity top the respective position of the supports. The desired distance between the supports must be drawn in. On the wall, then mark the desired height of the washbasin, but it is also necessary to take into account the dimensions of the supports and the plate. To make marking on the wall easier, it is recommended to draw the beam distance directly on the spirit level as a helpful marker.
On the left and right sides are also marked the height of the brackets, the beam spacing and the center of the vanity. Marking should be done so that from the drain pipe, with the help of the spirit level, go up the center. From this center point, the distance of 45 centimeters is marked on both sides. These markings indicate the first two holes. If the distance of the screw holes of the beams was measured, they are transferred down - starting from the markings of the first drill holes.
Now it is time to drill the holes. Ideally, this is done using an impact drill, which is equipped with a masonry drill bit. However, if drilling into joints or tiles becomes necessary, the percussion drilling function should be deactivated at the beginning, otherwise there is a risk of damaging the joints and tiles. Only after drilling through these elements can the function be reactivated.
After drilling is done, the dowels are inserted and lightly tapped in with the help of a hammer. After that, the appropriate screws are placed in the wall support, and so they are mounted on the wall. On the supports in the next step is to put the vanity top and check whether a sufficient height for the new sink was chosen. In this regard, the common standard height for washbasins is 85 to 95 centimeters. Ideally, the height of the sink should be such that it corresponds to about half the height of the user.
Sawing the washbasin
.
Now it's time to install the faucet and sink on the vanity in the desired position. To accomplish this, you need to mark the perimeter of the faucet and the drain on the vanity. To prevent damage to the floor during the sawing work, the plate is jacked up on two pieces of wood.
Then, using the appropriate attachment, the hole for the faucet and the slightly larger hole for the drain are sawn into the plate. The sawing position should always be visible on the back. The vanity top is then turned over to saw the remaining piece from the opposite side. This prevents the hole saw from coming out. This ensures that the edges of the saw are particularly clean.
The next step is to attach the prepared vanity top to the supports. It is recommended to measure the distance between the supports and the respective edge once again. If everything fits correctly, the vanity top is screwed tightly to the supports from its lower side.
A good advice in this regard is to apply a sealant of silicone to the cut surfaces of wood-based panels. Ideally, this should be done using special sanitary silicone.
Installation of sink and faucet
.
Before installing the faucet of the countertop sink, it is necessary to screw in the flexible hoses. Here you need to take into account the correct positions of cold and hot water flow - on the left side usually flows hot water, and the cold water comes from the right.
The sealing ring is then fitted before the fitting, including the hoses, is inserted into the support plate. If the hoses are not long enough to reach the angle valve, an appropriate extension hose must be used. This must first be screwed onto the angle valve and tightened using an open-end wrench. The extension is then connected to the original valve hose, which is simultaneously fixed with a pipe wrench.
In the next step, the sink is positioned so that it is possible to insert the drain from the inside. From below, the seal must be tightened with the other hand. A silicone seam is then drawn around the drain hole to ensure that the edges are completely sealed. It makes sense to also apply a little silicone around the hole to connect the wood to the sink. After that, the sink is placed on the vanity accordingly.
Connection of the water
.
The last step in the installation of a countertop sink is to adjust the wall connection pipe. To do this, you need to measure what the distance between the drain of the sink and the wall. Four centimeters are added to this distance, as this corresponds to the depth of the pipe on the wall. At the appropriate place, the pipe is then cut with the help of a pipe cutter.
Once these steps have been successfully completed, the new countertop sink can be enjoyed every day as part of an extremely comfortable and luxurious bathroom design.
Fig.: spa-ambiente.de
This website uses cookies. The cookie technolgy provides a good user expierence. We recommande you to accept this technolgy.
Information about Cookies

 Nowadays, countertop sinks are increasingly common in luxurious design bathrooms. This is hardly surprising, as their individual look contributes greatly to an elegant and inviting ambience in the bathroom. As a rule, the washbasins are placed on a plate made of wood. In the run-up to the installation, a substructure, which has the necessary stability, can thus not be dispensed with.
In most cases, custom-made sinks already have passages for the faucets and water inlets. However, if these are not yet present, the installation also requires appropriate tools for this, with which the passages can be individually sawed. Oiled solid wood, by the way, is particularly well suited to serve as a plate for the washbasin.
Those who want to assemble their countertop sink on their own, the following article provides practical instructions on how to do it.
Nowadays, countertop sinks are increasingly common in luxurious design bathrooms. This is hardly surprising, as their individual look contributes greatly to an elegant and inviting ambience in the bathroom. As a rule, the washbasins are placed on a plate made of wood. In the run-up to the installation, a substructure, which has the necessary stability, can thus not be dispensed with.
In most cases, custom-made sinks already have passages for the faucets and water inlets. However, if these are not yet present, the installation also requires appropriate tools for this, with which the passages can be individually sawed. Oiled solid wood, by the way, is particularly well suited to serve as a plate for the washbasin.
Those who want to assemble their countertop sink on their own, the following article provides practical instructions on how to do it.