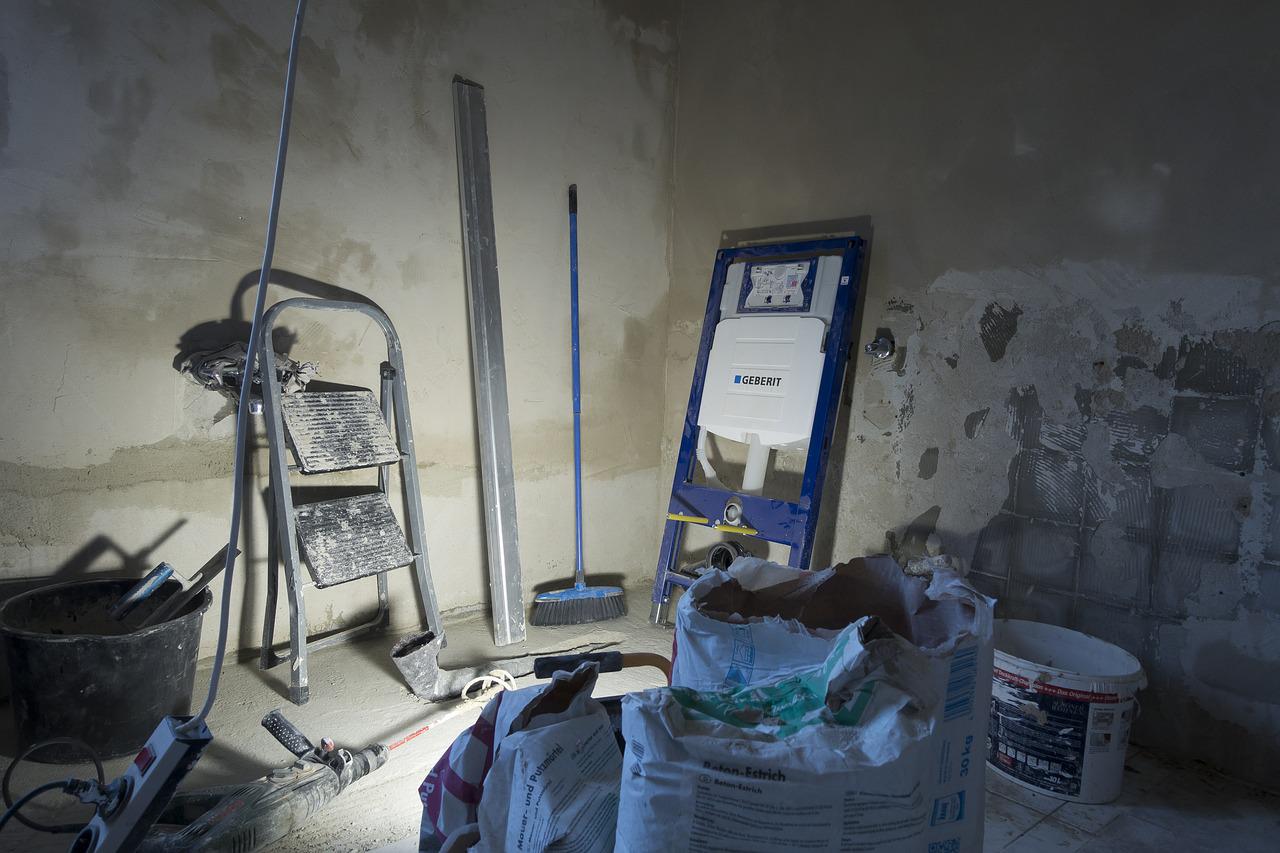
Those who want to make a comprehensive renovation of their bathroom and at the same time aesthetically hide the sewage and drinking water pipes, should use a pre-wall installation for this purpose.
This type of installation can be carried out by experienced DIY enthusiasts without any problems. How this works in detail, shows the following article.
The preparation
As with any major DIY projects, of course, pre-wall installation in the bathroom can not do without careful planning. In order to carry out the installation, there should already be an exact idea in advance about how the future bathroom should look like.
Of particular importance in this context is the positioning of the sanitary objects, such as the bathtub, sink, shower, bidet and toilet. It therefore makes sense to create an exact floor plan in the first step, which includes all sanitary objects. This makes it particularly easy to calculate the length of the rails, which elements are required and the number of auxiliary supports to be planned. In addition, a rough determination of the length of the drainage and supply water lines is necessary.
Fixing the pre-wall scaffolds
The pre-wall scaffolds are available prefabricated. They are attached to the floor and wall with the help of dowels. Through the floor and wall rails, it is possible to move the individual sanitary objects both in height and to the side.
Cutting and fixing the rails
.
The laying of the respective pipelines is carried out between the rails. The resulting space between them is to be filled with mineral wool, which is shown to be fireproof and moisture resistant. This serves as sound insulation.
The rails are cut to the required length using a hacksaw and then fastened to the wall and floor with dowels. Depending on the respective substrate, care must be taken to select the appropriate dowels to ensure that the construction is stable and secure. It also makes sense, for example, the use of self-tapping screws, which can be easily drilled through the rails.
Insertion of the prefabricated modules
.
Now the prefabricated modules for the respective sanitary objects are inserted in the desired places. These are then fastened with the hammerhead screws, which are usually included in the scope of delivery.
Height markings can be found on the modules, which ensure that the installation takes place at the correct height. The module is then attached accordingly and a spirit level is used to check that it is correctly aligned.
If the wall itself turns out not to be perfectly straight, this is not a problem, because the mounting brackets to be used can be flexibly adjusted in depth, so that compensation for uneven walls is quite simple.
Cutting and attaching the plasterboard
.
The next step is to cover the wall with plasterboard. For this, the recesses, which are necessary for the connections, are to be drawn on the gypsum boards and subsequently cut out accordingly. Precise work is of the utmost importance here. Since gypsum boards are extremely suitable for laying tiles on them afterwards, additional plastering is not absolutely necessary.
The gypsum boards are installed with the aid of self-drilling quick-action screws. A maximum gap of 60 centimeters can be bridged. This ensures that the pre-wall still has the necessary stability. If the gaps turn out to be larger, the pre-wall framework must be provided with an additional auxiliary beam.
Application of the deep primer
.
The last step is to carry out a treatment of the panels of plasterboard with a solvent-free deep primer.
This is applied either with a tassel or a brush. This ensures an optimal hold when tiles or plaster are subsequently applied.
Photo: stux/pixabay.com
This website uses cookies. The cookie technolgy provides a good user expierence. We recommande you to accept this technolgy.
Information about Cookies

 Those who want to make a comprehensive renovation of their bathroom and at the same time aesthetically hide the sewage and drinking water pipes, should use a pre-wall installation for this purpose.
This type of installation can be carried out by experienced DIY enthusiasts without any problems. How this works in detail, shows the following article.
Those who want to make a comprehensive renovation of their bathroom and at the same time aesthetically hide the sewage and drinking water pipes, should use a pre-wall installation for this purpose.
This type of installation can be carried out by experienced DIY enthusiasts without any problems. How this works in detail, shows the following article.