Drill holes in the wall are relatively easy to close. But how to plaster holes that have destroyed a tile? In many rental apartments and in older houses, bathrooms and kitchens are literally "potholed". Here, readers will learn how to create a smooth surface and what to look for when plastering drilled holes in bathrooms and tile backsplash in kitchens.
Sealing holes in bathroom tiles - this is how to do it!
Every DIYer knows the challenge when it comes to installing mirrors and cabinets in tiled bathrooms. With meticulousness, people try to drill the holes only in the joints and in no case in a tile. But this does not always work, because the suspension of mirror cabinets or other wide furniture does not necessarily fit the joints of the tiled wall. If you drill now and move out later, closing the holes presents another challenge. This is because no landlord has to accept holes in tiled walls and will deduct this damage from the rental deposit deposited. Therefore, it is good to know how to close the holes and hand over a smooth wall without drilling damage.
The best preparation
.
No matter which method is chosen for hole filling - a clean, grease-free wall and a dust-free drill hole form the basis. First, use the vacuum cleaner to remove any debris in the hole. Then the area is cleaned generously with a damp cloth and appropriate bathroom cleaner. In order for the grout, silicone or repair putty to hold, the wall and the drilled hole must be completely dry. Therefore, it is best to prepare this in one day to fill the holes the following day with the chosen method.
Plastering holes in joints
.
This is one of the simplest tasks. Especially if the joints are white or gray. Because in this case, you can use conventional putty or plaster and simply close the holes in the joints. A color match to the overall joints is possible with pigments, which you stir into the plaster - or with a joint-colored putty. To plaster the holes "invisible", clean work plays an essential role.
Various options for tile repair
.
It becomes really annoying when the holes are not in the joints but in the tiles. Here, good advice is expensive and craftsmanship is needed. In only a few cases are replacement tiles available that can be exchanged for the wall tiles with holes. Some DIYers use silicone, while others swear by the use of putty. Plaster is not suitable for tile repair because it washes out over time and, on top of that, remains visible as a dull spot.
It depends on the right repair products
.
High quality is important when choosing repair agents. Filler, for example, is available in different colors, which makes it possible to match the bathroom tiles. Silicone can also be chosen to match the tile color and a professional squeegee can be used to ensure a smooth result. Those who have laid unusual tiles face a challenge in the choice of color. Here, a little flair is needed for the right admixture of pigments. Silicone is unsuitable in this case, as color pigments can only be mixed with a self-mixed filler.
Clean work as a basis
After the borehole is cleaned and dried, stir a small amount of the putty. Alternatively, the silicone tube with a small hole is used. At best, the scratch should be metal and have a clean, absolutely smooth edge. To create an even texture on shiny tiles, the excess repair compound must be removed with a correct stroke. Now allow the compound to dry before moving on to the finish - the restoration of the glossy surface. Filler mass can be coated with a dab of clear varnish, which makes it impossible to see any difference between the tile and the repaired area without a close look and knowledge to the drill hole.
Conclusion: properly plastered, drilled holes in bathroom walls are invisible
.
A little craftsmanship, high-quality tools and a suitable repair agent make plastering holes in the joints and tiles of bathrooms possible. Therefore, those who move out or move into a house or apartment with numerous holes in the bathroom do not have to immediately think about replacing the tile backsplash. In most cases, the repair is feasible and a cost-effective decision if there are no spare tiles in the basement or attic. It is important that after drying, the repaired area is gloss painted, sanded and treated again with a clear gloss varnish.
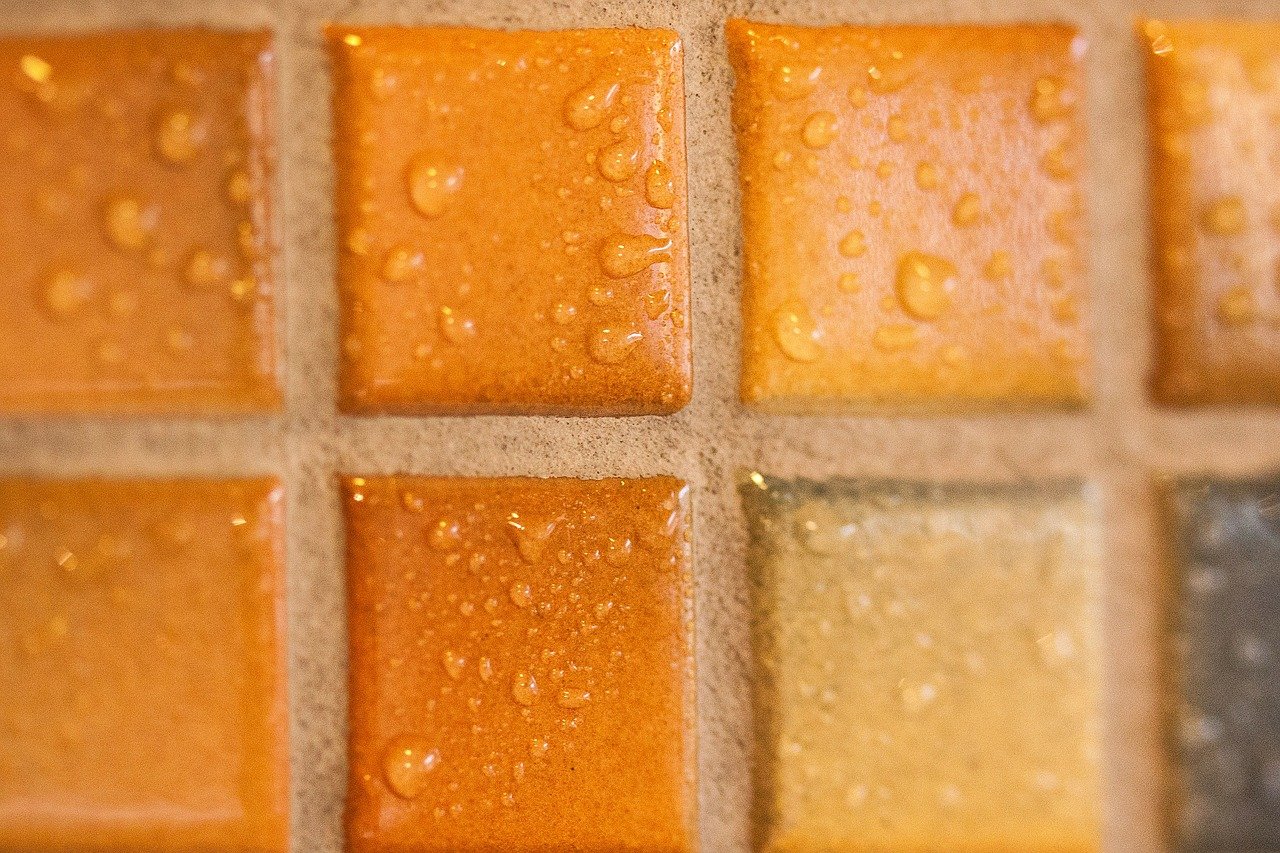
Fig.: stux/pixabay.com
This website uses cookies. The cookie technolgy provides a good user expierence. We recommande you to accept this technolgy.
Information about Cookies

 Drill holes in the wall are relatively easy to close. But how to plaster holes that have destroyed a tile? In many rental apartments and in older houses, bathrooms and kitchens are literally "potholed". Here, readers will learn how to create a smooth surface and what to look for when plastering drilled holes in bathrooms and tile backsplash in kitchens.