Removing and renewing silicone joints: this is how it is done
At the transition between bathroom furniture and tiles, the materials are protected from vibration and contact damage by joints. To prevent moisture from entering these joints and mold from forming behind the sink and tiles, silicone is used to fill the joints.
Nevertheless, it is recommended to renew the existing silicone joints at regular intervals - after a few years, in fact, they often become unsightly and porous. However, although the silicone seals very well, it is therefore not easy to remove again. However, there are some tips and tricks that can be used to remove the old joints and replace them with new ones. Which these are, reveals the following article.
The removal of silicone joints
.
Basically, there are different methods available to remove the old silicone from the spaces between the tiles.
Knife or scraper - The classic way
.
Usually, the old silicone grout is removed with a special knife, for example, a handy grout scraper, the so-called grout shark. However, if special knives for removing the joints are not available, a cutter or carpet knife can also be used. However, it is important that the knife has a sharp stainless steel blade.
Before scraping the joints, you need to carefully clean the surfaces that are around the old joints. In case of silicone joints of shower cabin, bathtub or sink, the drain must be closed during the work, because the old silicone must not get into the sewage. With the help of the knife or scraper, the silicone joints are then completely removed.
Silicone remover for chemical solution
.
If the silicone is so stuck in the joints that it cannot be scraped off with either the cutter knife or the joint shark, chemical silicone remover can also be used. This is available both in liquid form and as a gel or spray.
For joint removal, the silicone remover must be sprayed or brushed onto the joint. This can be done particularly evenly with a cartridge gun or a brush. The silicone remover should then be left to work for a certain time according to the manufacturer's instructions. This dissolves the silicone, which can then be removed with a knife or a scraper.
Afterwards, the surfaces should be thoroughly cleaned of any mold and dirt - this is particularly easy to do with methylated spirits. The room should also be ventilated extensively after application and the joints allowed to dry completely.
Solve silicone with the help of home remedies
.
Those who want to avoid aggressive chemical products for the removal of silicone tiles can also resort to environmentally friendly home remedies. Indeed, these are not only a great help in cleaning the grout and tiles, but also in renewing them.
However, it is basically a help if the coarsest is removed in advance with a knife and scraper. The removal of the old silicone by the home remedies succeeds then all the easier afterwards. If the necessary home remedies are not available, the joints can also be softened with the help of heat, for example with a hair dryer. Pre-curing is possible by using ice or cold spray.
Vinegar, for example, can be used to remove the joints by soaking the silicone joint in vinegar essence for around five to ten minutes. The joints can also be loosened with washing-up liquid. To do this, the first step is to carefully dry the joints so that there is no more water on them. Then undiluted dishwashing detergent is generously applied to the joints and left to act for about 15 minutes before the silicone residues can be removed.
Renewing the silicone joints
.
Once the old silicone joints have been successfully removed, their renewal can begin. To ensure that the edges turn out clean in the result, it is useful to tape the empty joint in advance at its lower and upper edges with painter's masking tape.
Then uniform renewal of the joints should be carried out with an appropriate silicone gun or sprayer and silicone for sanitary rooms. This special silicone will thin out anti-fungal agents. If small mistakes happen during the work, they can be easily corrected with a razor blade or spatula.
In principle, the silicone joint should be a little wider than the actual gap. Between one and two millimeters can be added to the width of the old joint, as the silicone shrinks to a certain extent over time.
After application, the still liquid silicone is wetted with soapy water using a spray gun and smoothed out - ideally with a spatula. Care should be taken to ensure that no more than ten minutes elapse between application and smoothing of the silicone joint. The instructions for use of the respective product also provide more detailed instructions.
Before they come into contact with water again, 24 hours should be allowed for the renewed silicone joints to dry completely.
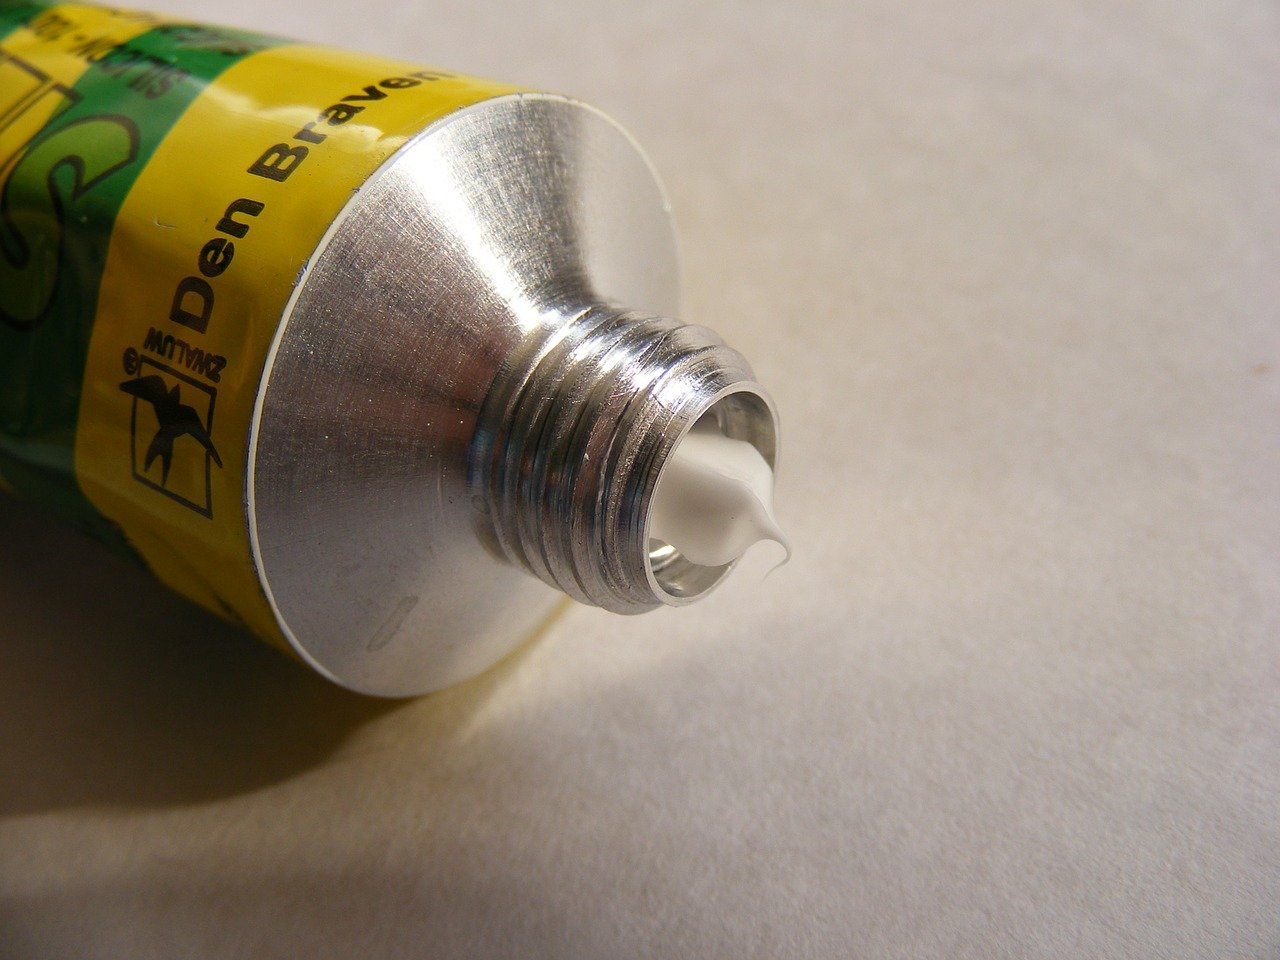
Fig.: byrev/pixabay.com
This website uses cookies. The cookie technolgy provides a good user expierence. We recommande you to accept this technolgy.
Information about Cookies

 At the transition between bathroom furniture and tiles, the materials are protected from vibration and contact damage by joints. To prevent moisture from entering these joints and mold from forming behind the sink and tiles, silicone is used to fill the joints.
Nevertheless, it is recommended to renew the existing silicone joints at regular intervals - after a few years, in fact, they often become unsightly and porous. However, although the silicone seals very well, it is therefore not easy to remove again. However, there are some tips and tricks that can be used to remove the old joints and replace them with new ones. Which these are, reveals the following article.
At the transition between bathroom furniture and tiles, the materials are protected from vibration and contact damage by joints. To prevent moisture from entering these joints and mold from forming behind the sink and tiles, silicone is used to fill the joints.
Nevertheless, it is recommended to renew the existing silicone joints at regular intervals - after a few years, in fact, they often become unsightly and porous. However, although the silicone seals very well, it is therefore not easy to remove again. However, there are some tips and tricks that can be used to remove the old joints and replace them with new ones. Which these are, reveals the following article.