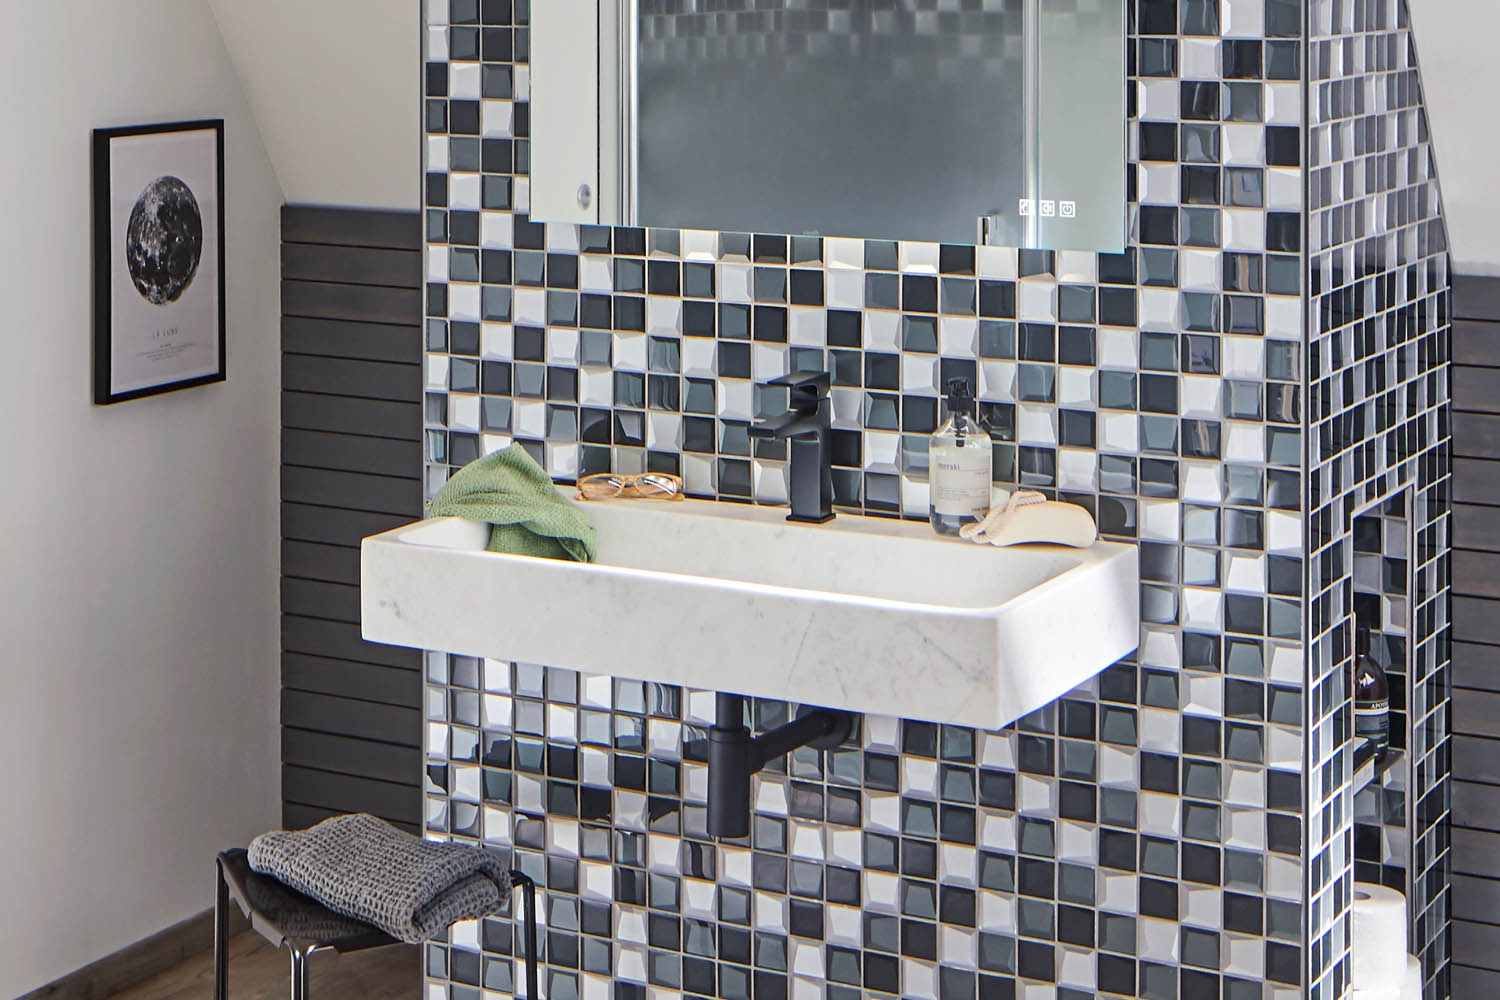
If the look of the home bathroom is to be made particularly aesthetic and inviting, laying mosaic tiles is a great idea. As a rule, practical mats are used for laying tiles as a mosaic. These ensure that the small tiles do not have to be laid individually, so that even larger areas can be designed in just a short time.
The mats represent a fabric net, which holds the individual mosaic tiles together. In the trade, an extremely extensive and varied selection of different colors and shapes can be found in this area, so that an individual design of the bathroom, which fully corresponds to personal taste, is possible without much effort.
To install the mosaic tiles, the first step is to prepare the surface before marking the desired area for the mosaic tiles. After that, the tile adhesive is mixed and this is applied to the intended area. Then the mosaic tiles are applied and the surface is grouted.
The following article provides an extremely practical step-by-step guide for laying mosaic tiles in the bathroom, with which nothing can go wrong during the work.
Step-by-step guide: the laying of mosaic tiles
.
Preparation of the tile substrate
.
To lay mosaic tiles, the first step requires a clean and dry substrate. For this reason, loose parts must first be removed, as well as any unevenness sanded and filled. A smoothing trowel is used for filling, after which the substrate is cleaned once again.
If an absorbent substrate is present, such as cement or gypsum board, priming is carried out with adhesive primer. In wet rooms, the primer must also include a waterproof barrier or a flexible moisture and water barrier to prevent moisture from penetrating the substrate. A suitable emulsion can be added to the tile adhesive or a barrier layer can be applied subsequently to the primer.
However, it is advisable in this case to always use the same manufacturer for the individual products, and the individual product specifications must also be taken into account.
Drawing the mosaic area
.
Next, mark the area on which the mosaic tiles are to be installed. Depending on the height of this area, the tiles can be aligned differently.
If the tile area is to extend to below the ceiling, a perpendicular is cut in the center of the wall, so that the mat with the mosaic tiles can be applied to the central axis. However, if the tiles are to extend only to a certain height, it is determined with the help of a spirit level and marked with masking tape.
Before laying the mosaic tiles, it is also necessary to decide how to position any patterns or different colors. Help is provided by creating a tile plan.
Mixing and application of the tile adhesive
.
Depending on the respective manufacturer's instructions, the tile adhesive is then mixed. It should be noted that there are many adhesives that begin to dry very quickly. Therefore, after mixing, start applying the adhesive immediately.
The adhesive is first applied in small portions to a large smoothing trowel with the aid of a plastering trowel. With a thickness of around five millimeters, the tile adhesive is then applied using the thin board method. The thin adhesive board must then be structured using a notched trowel with teeth between three and six millimeters thick. This is used to draw several horizontal and vertical lines through the adhesive compound.
If glass mosaic tiles are applied, white or dispersion or natural stone adhesive should always be used, as they will not show through after the tiles are applied.
Cutting the mosaic tiles
.
In the bathroom, the wall on which the mosaic tiles are installed, often has obstacles, for example, plumbing or pipes.
To get around them with the mosaic tiles, you need to measure the exact positioning of these barriers. The position must then be marked on the back of the mosaic tile mat. The finish is also marked in this way on the edges.
The corresponding places are then cut off from the tile mat with the help of a cutter knife. Afterwards, the cut can be checked by laying it out on a trial basis.
As a rule, it is possible to lay the tile mat directly over edges and shoulders. However, as an alternative, the mat can also be cut to the precise length and then butt-joined. This step is greatly facilitated by the use of a tile rail, as this always ensures a neat finish.
Tile rails and tile edge profiles are usually attached to the adhesive at the same time as the tile. To choose from in this area, too, there are numerous different dimensions, materials and color variants.
Laying the mosaic tiles
.
The next step is to press the tile mat into the adhesive. In addition, the mosaic should then be pressed firmly with the help of a squeegee or a rubbing board. This works particularly well if the board has a similar width to the mosaic tiles. This ensures that the mats are pressed into the adhesive evenly.
Also, during the gluing process, always make sure that the mosaic is correctly aligned. A spirit level, plumb line and batting line can be used to check this. Touch-ups are still possible as long as the adhesive has not dried completely.
If the tile adhesive protrudes from some joints during the pressing process, immediate removal is recommended. Well suited for this purpose is the use of a grout scraper.
Grouting the mosaic tiles
.
After installing the tile mat, the tile adhesive must dry and harden completely according to the respective manufacturer's instructions. The next step is to grout.
It is recommended to use quite soft natural stone mortar to protect the ceramic tiles in the best possible way. The color of the grout or mortar should be selected depending on the colors of the mosaic tiles to create a coherent and aesthetic overall picture in the bathroom.
The mortar is then applied with the help of a grout, diagonally to the course of the tiles. If the grout has already been drawn a little into the joints, it is wiped off. Water, a damp sponge and a rubbing board can be used for this purpose. For grouting the connection joints use silicone - ideally special sanitary silicone, which is ideally designed for the requirements of wet rooms.
Photo: spa-ambiente.de
This website uses cookies. The cookie technolgy provides a good user expierence. We recommande you to accept this technolgy.
Information about Cookies

 If the look of the home bathroom is to be made particularly aesthetic and inviting, laying mosaic tiles is a great idea. As a rule, practical mats are used for laying tiles as a mosaic. These ensure that the small tiles do not have to be laid individually, so that even larger areas can be designed in just a short time.
The mats represent a fabric net, which holds the individual mosaic tiles together. In the trade, an extremely extensive and varied selection of different colors and shapes can be found in this area, so that an individual design of the bathroom, which fully corresponds to personal taste, is possible without much effort.
To install the mosaic tiles, the first step is to prepare the surface before marking the desired area for the mosaic tiles. After that, the tile adhesive is mixed and this is applied to the intended area. Then the mosaic tiles are applied and the surface is grouted.
The following article provides an extremely practical step-by-step guide for laying mosaic tiles in the bathroom, with which nothing can go wrong during the work.
If the look of the home bathroom is to be made particularly aesthetic and inviting, laying mosaic tiles is a great idea. As a rule, practical mats are used for laying tiles as a mosaic. These ensure that the small tiles do not have to be laid individually, so that even larger areas can be designed in just a short time.
The mats represent a fabric net, which holds the individual mosaic tiles together. In the trade, an extremely extensive and varied selection of different colors and shapes can be found in this area, so that an individual design of the bathroom, which fully corresponds to personal taste, is possible without much effort.
To install the mosaic tiles, the first step is to prepare the surface before marking the desired area for the mosaic tiles. After that, the tile adhesive is mixed and this is applied to the intended area. Then the mosaic tiles are applied and the surface is grouted.
The following article provides an extremely practical step-by-step guide for laying mosaic tiles in the bathroom, with which nothing can go wrong during the work.